To begin, if you wish to create a new account and a new workspace, the first thing you need to do is navigate to the appropriate section.
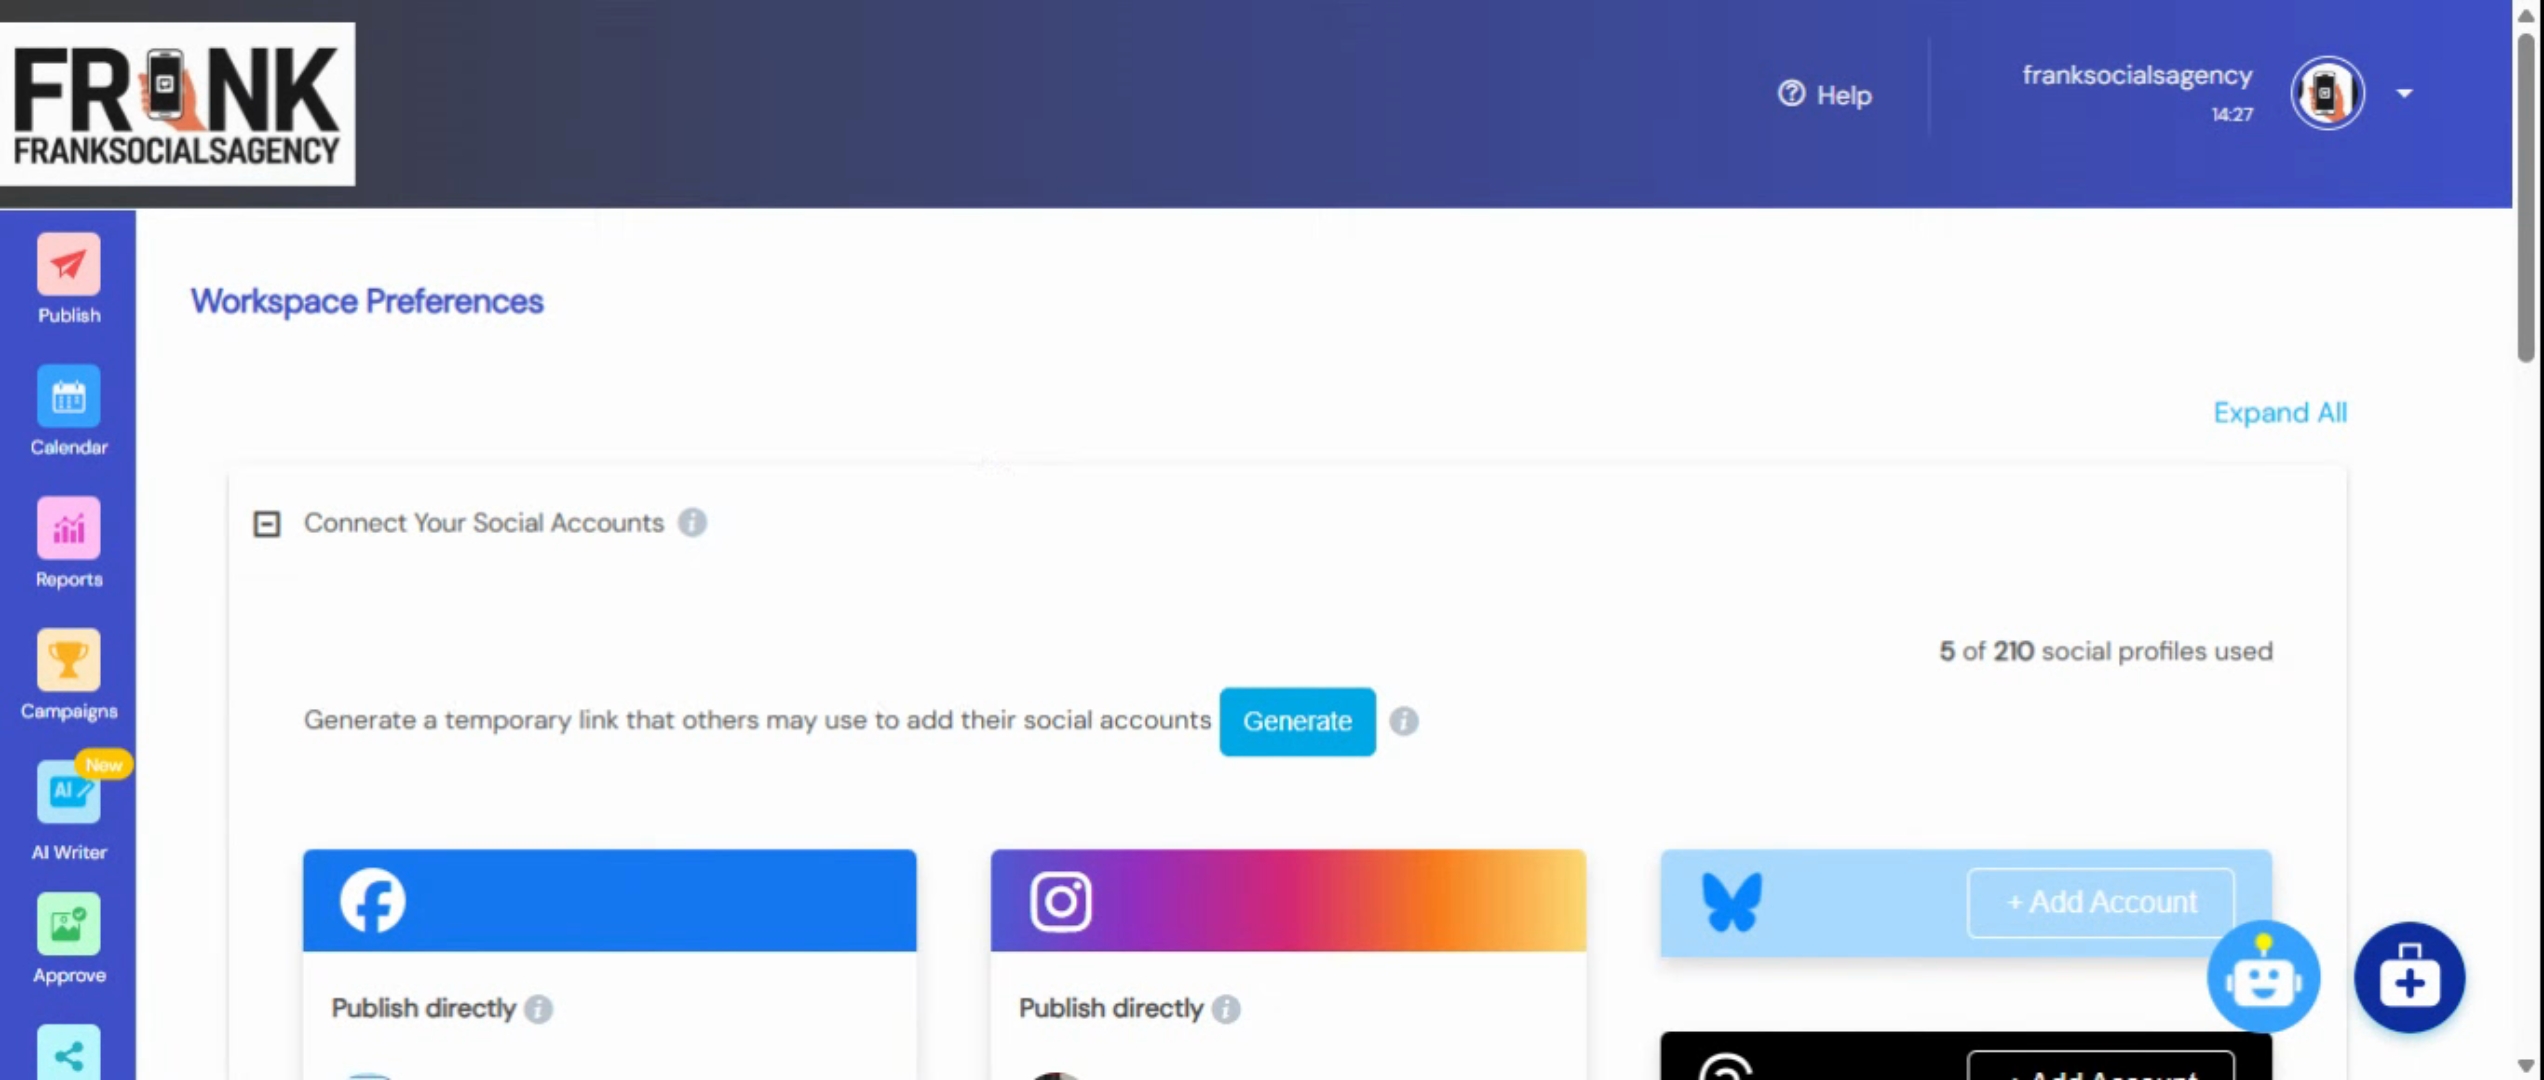
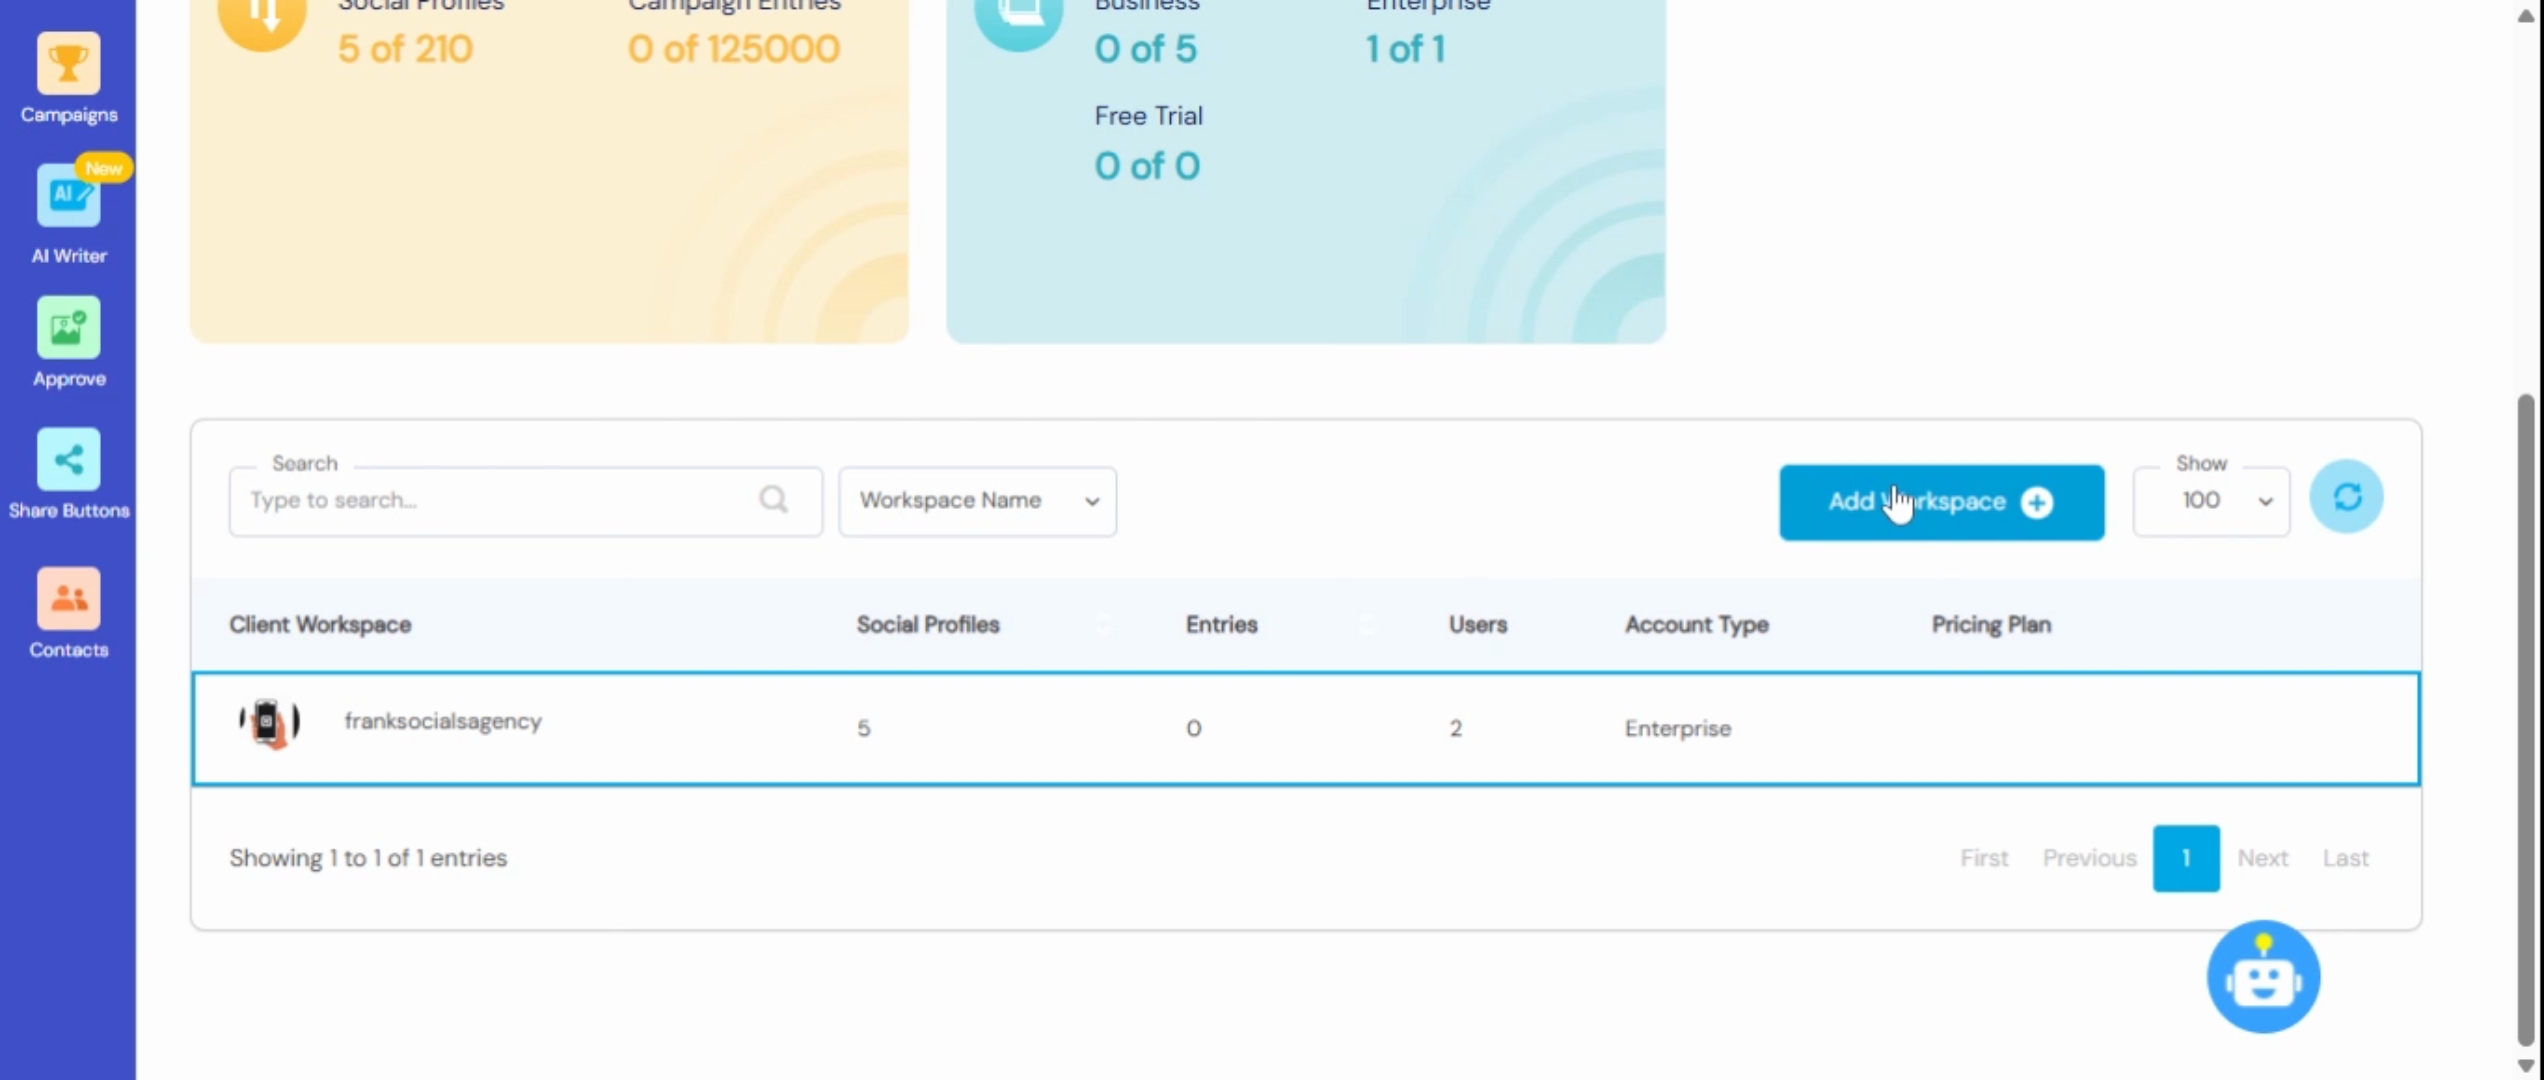
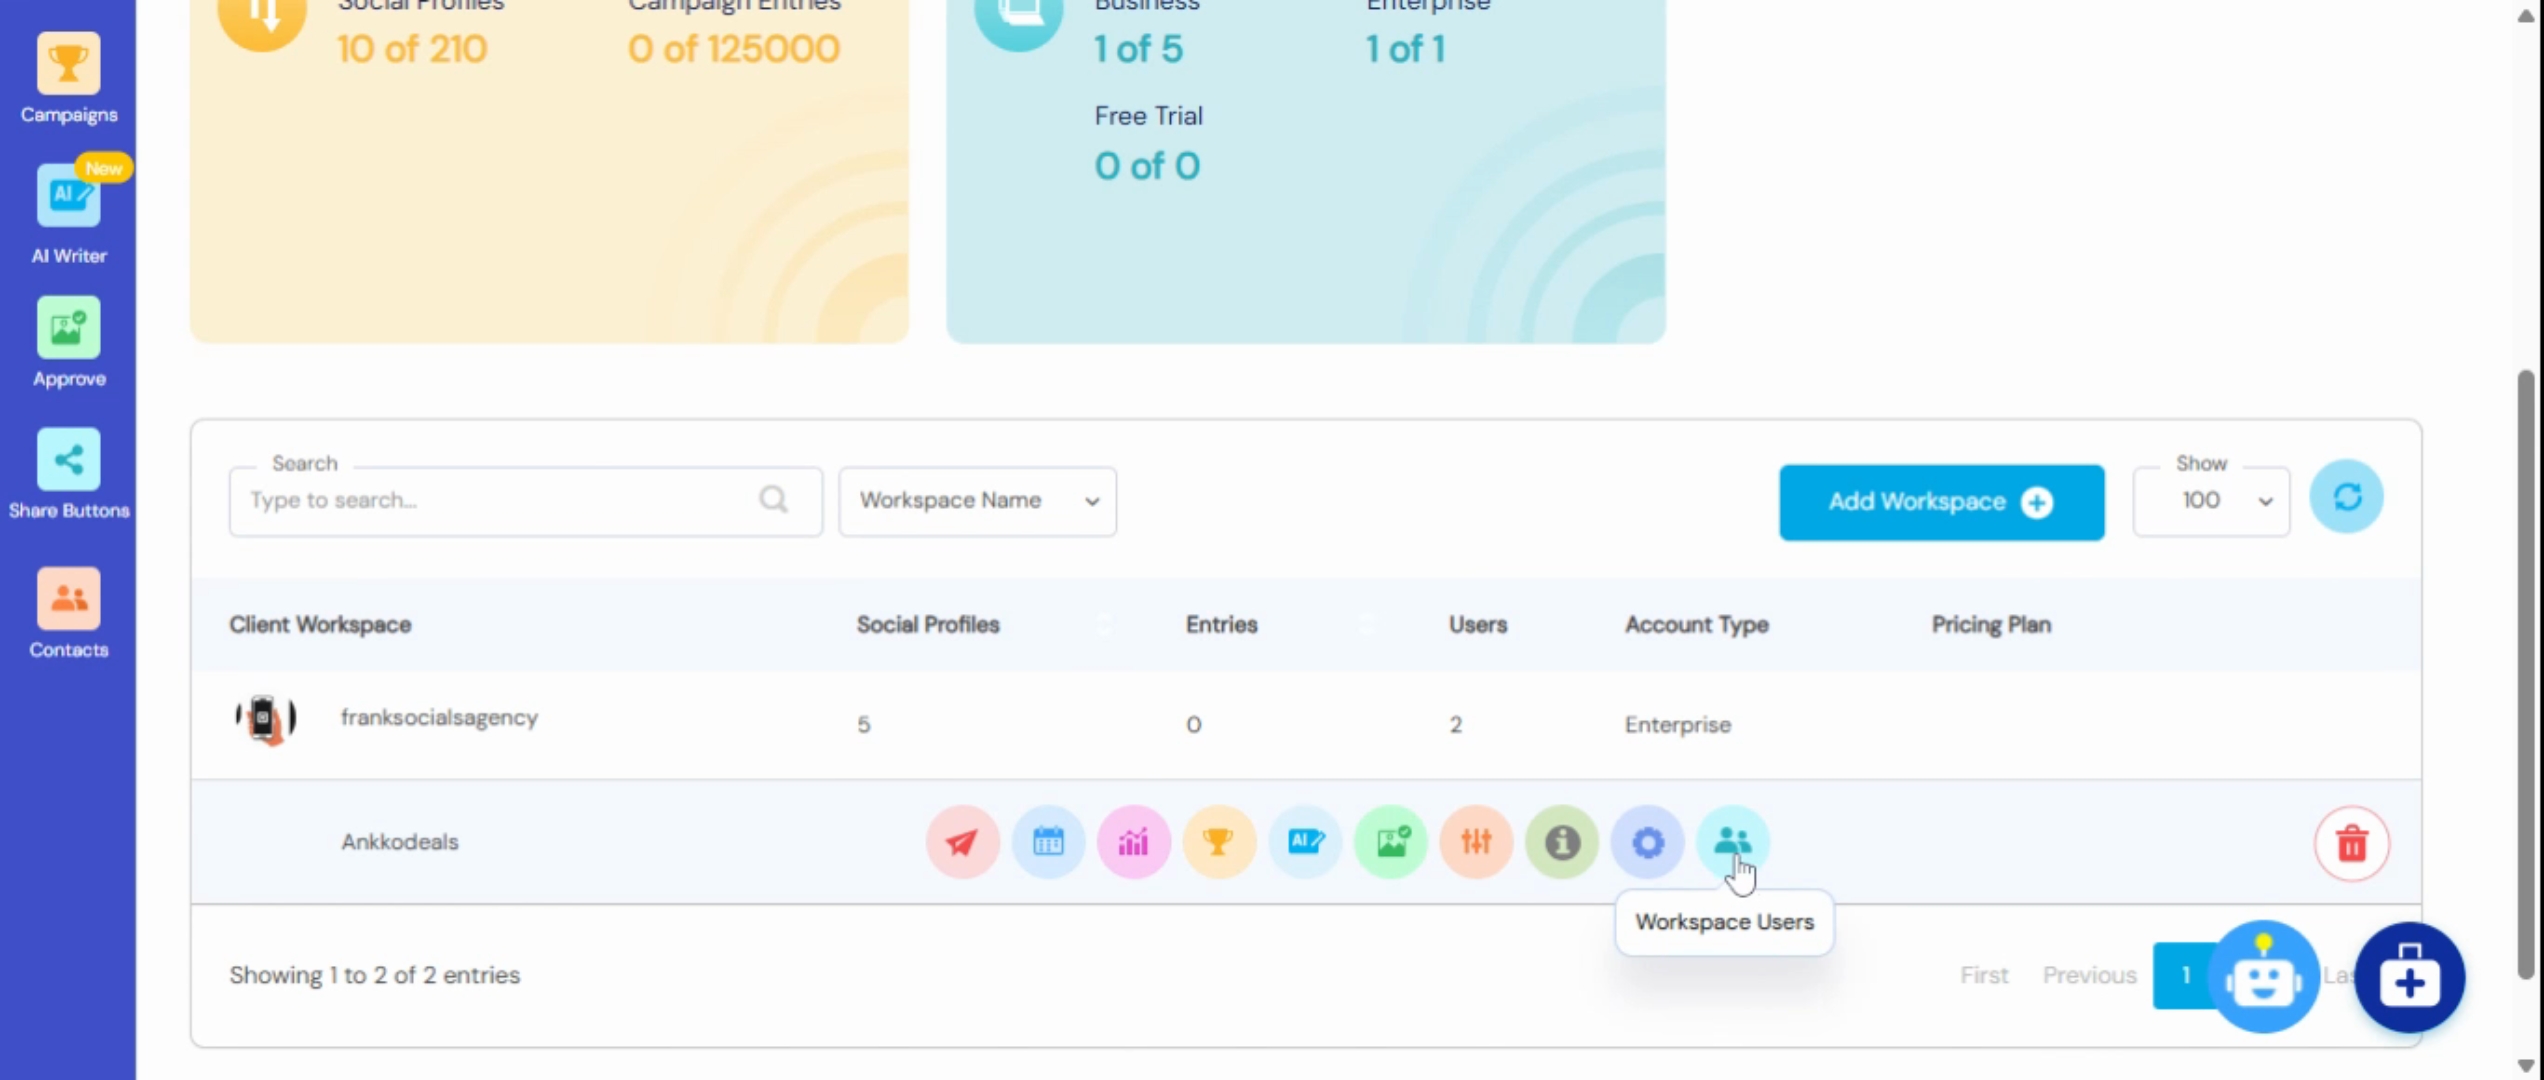
First, locate and click on the Agency Dashboard icon. You will arrive at a page where all your workspaces are displayed.

From here, choose Add Workspace. You will have two options: to create a new workspace or import an existing account. In this tutorial, we will create a new one by clicking on Create a New one.
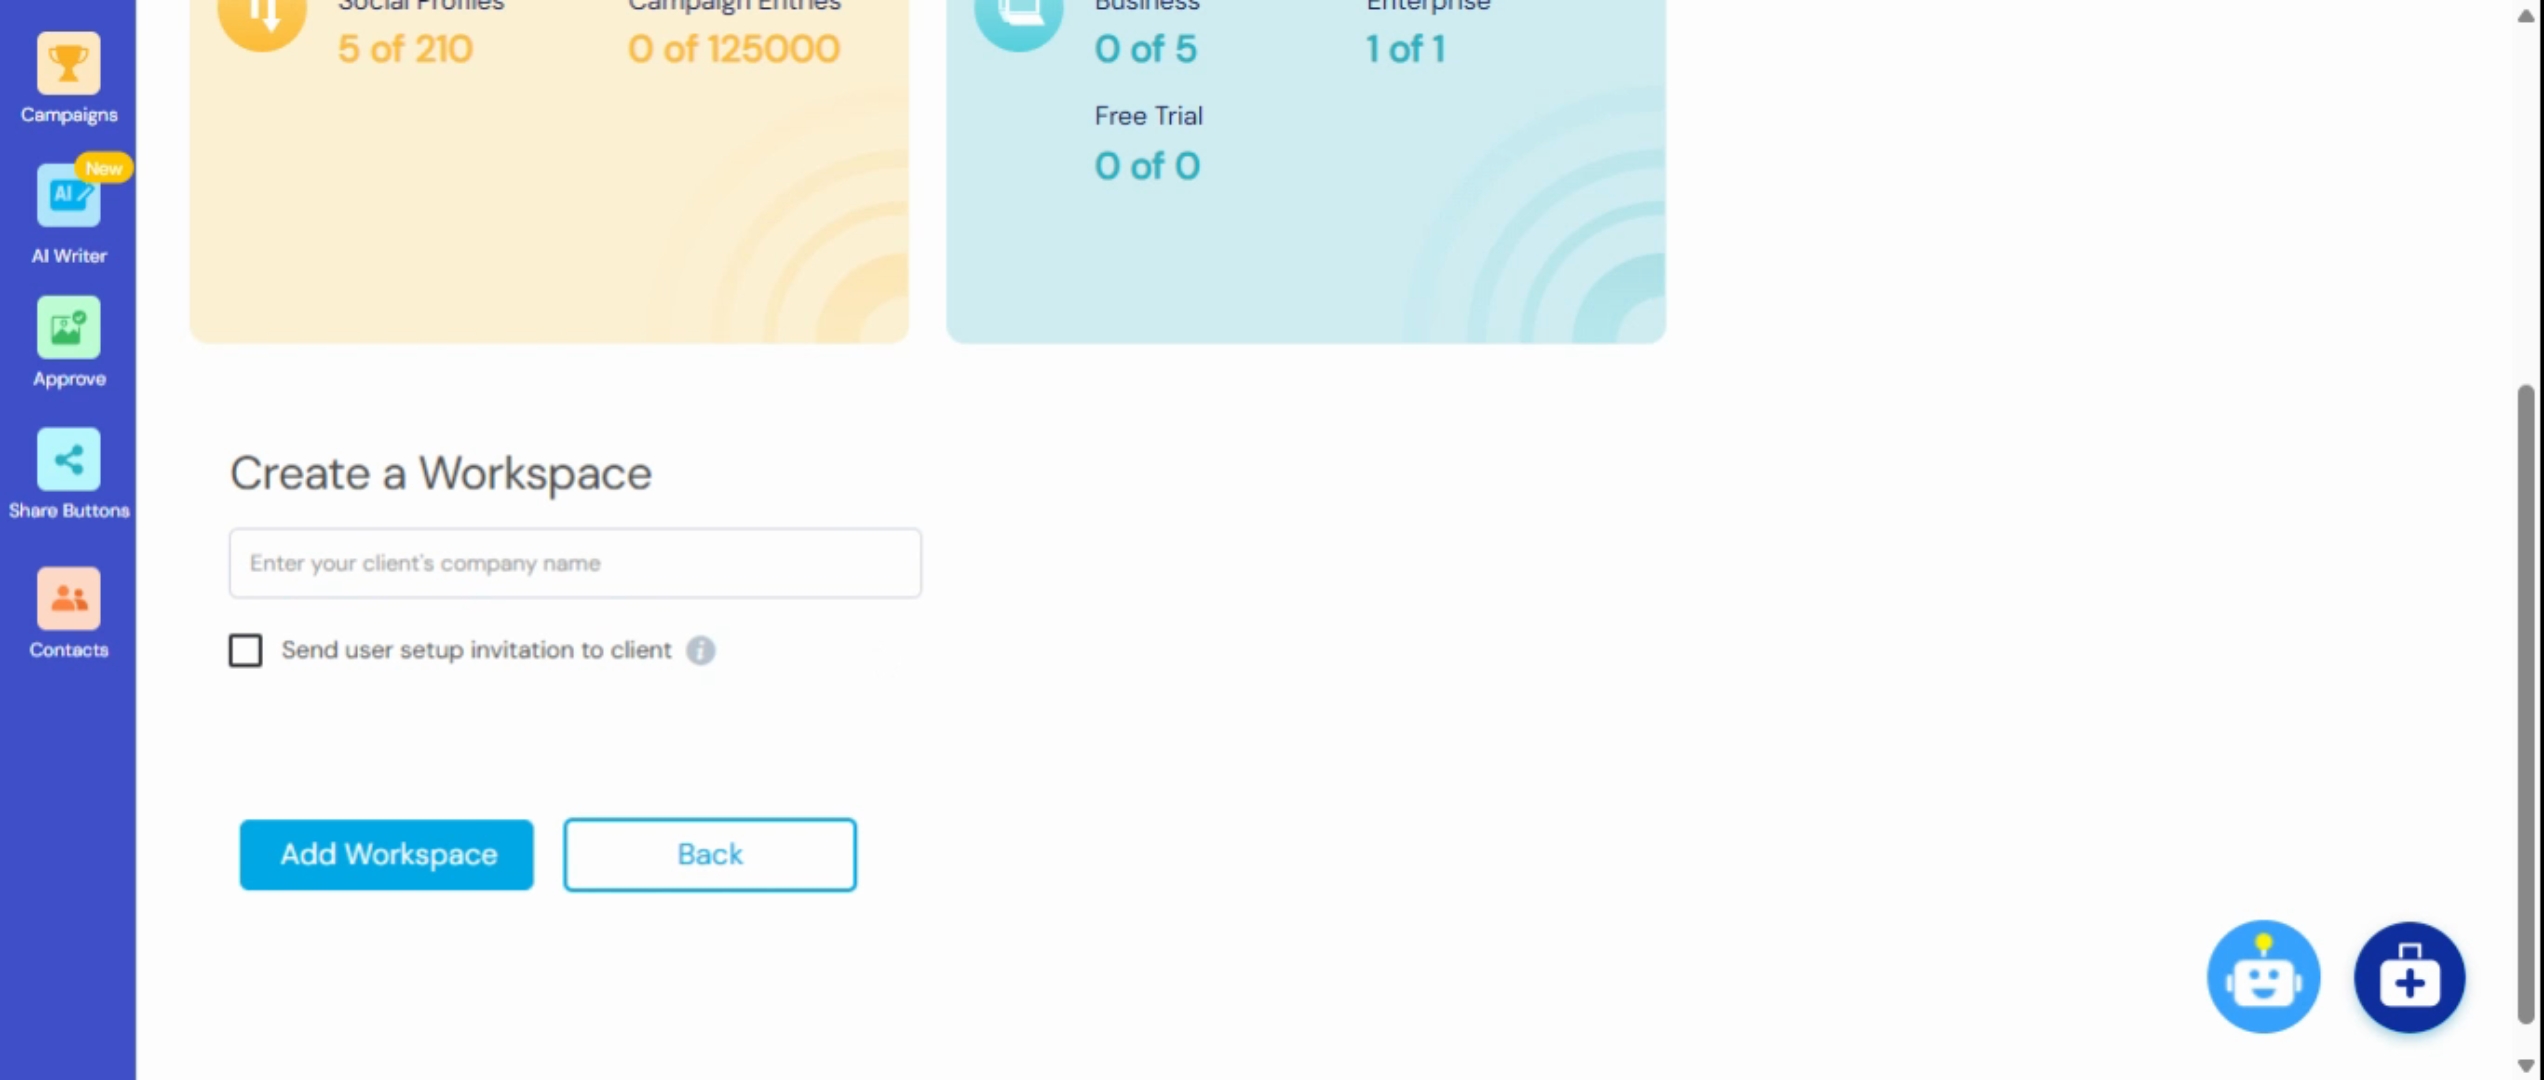
Next, enter the name of your workspace, which can be your name, your client's name, or the company name. For this example, let's call it Anchor Deals. After entering the name, click on Add Workspace.
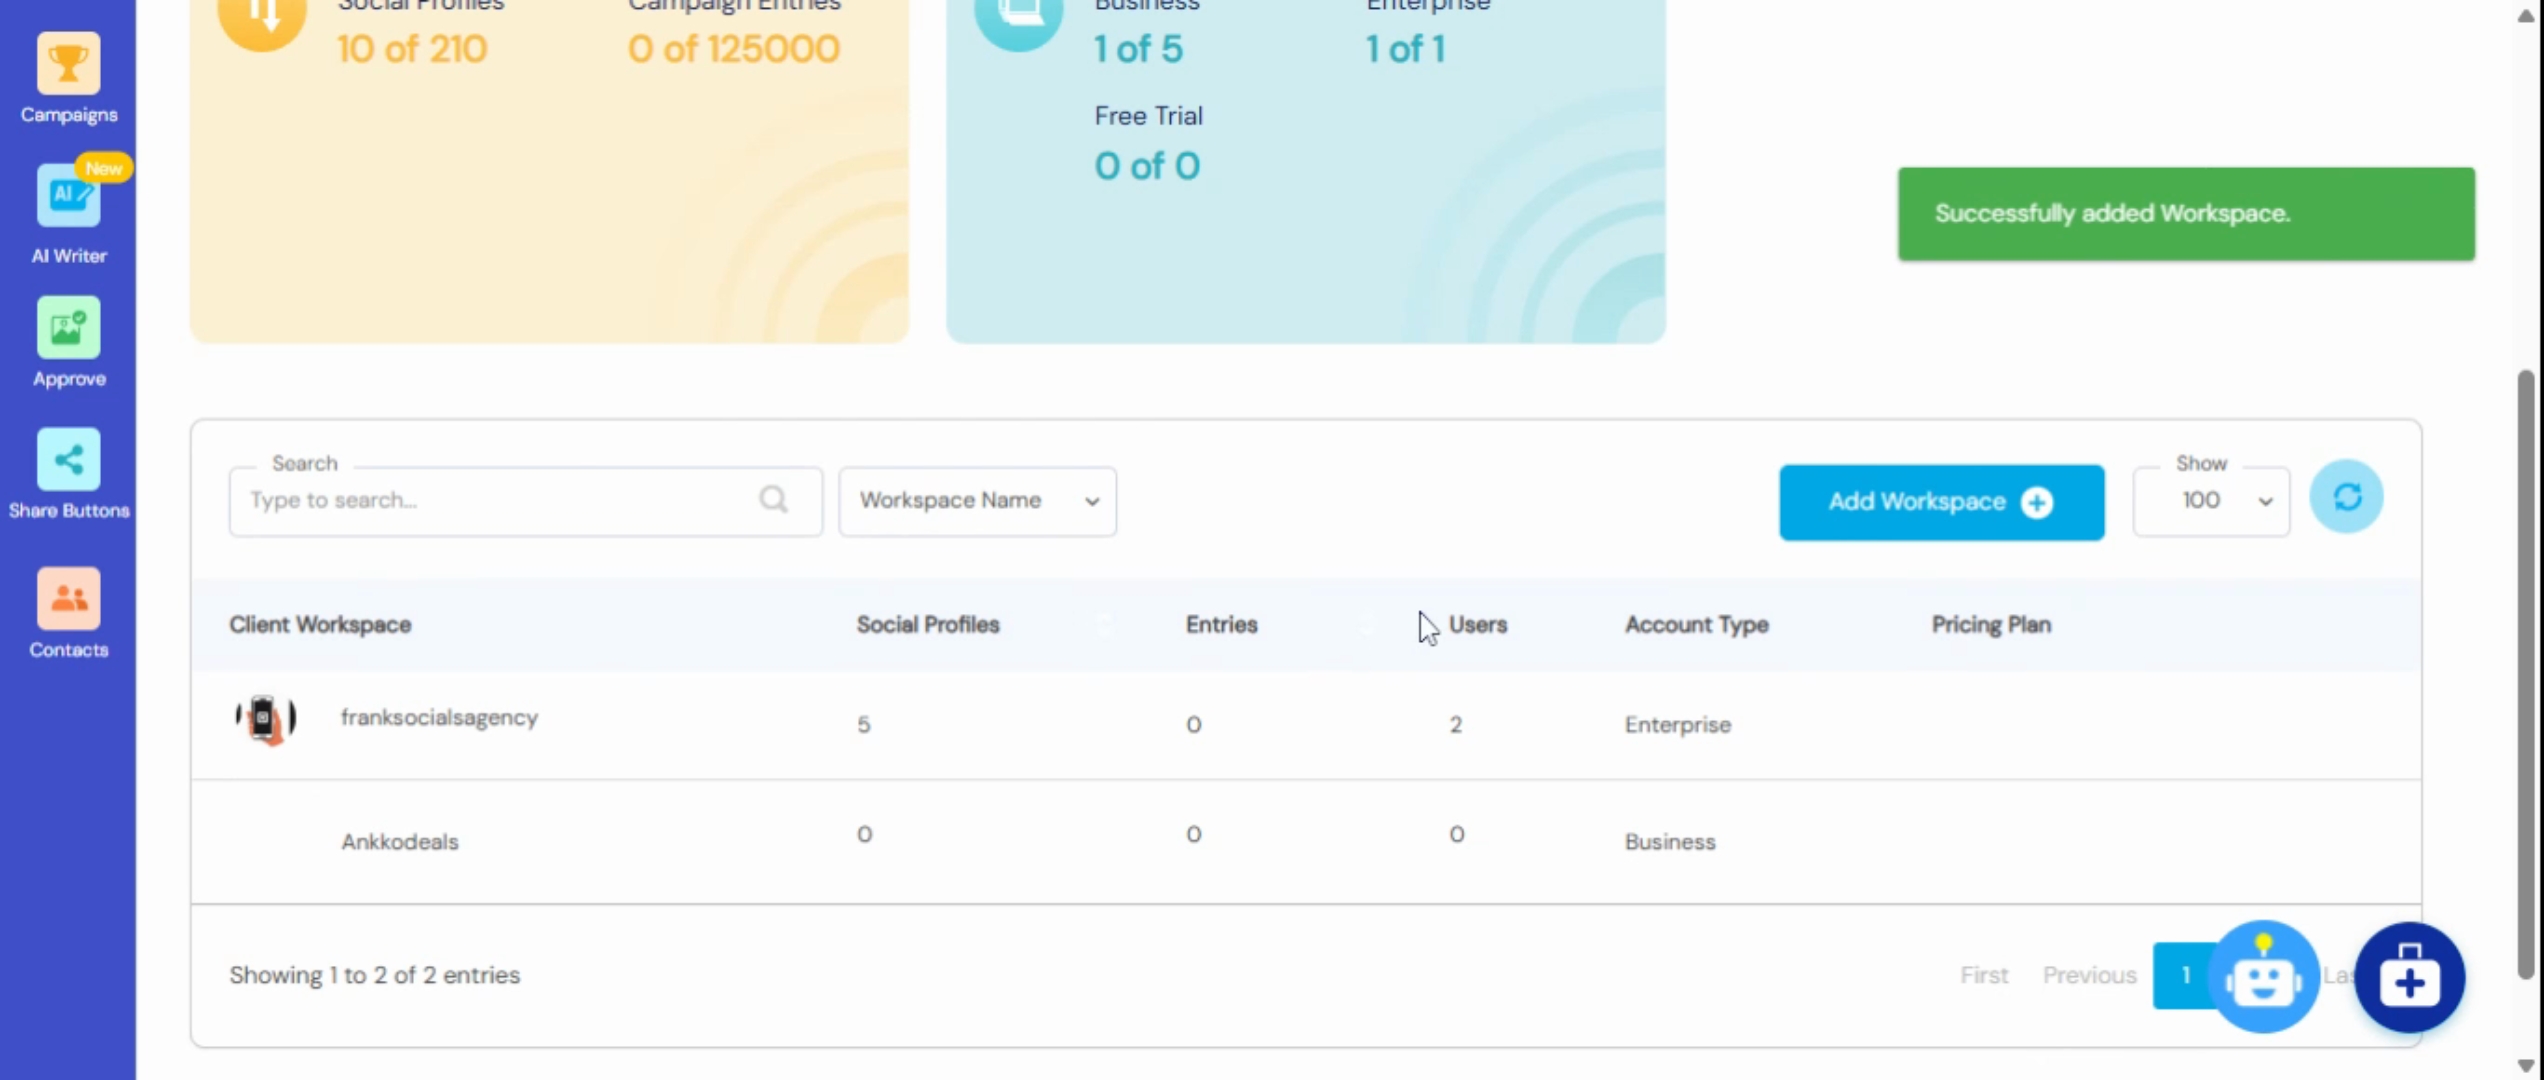
You will see a confirmation that the workspace has been added successfully.
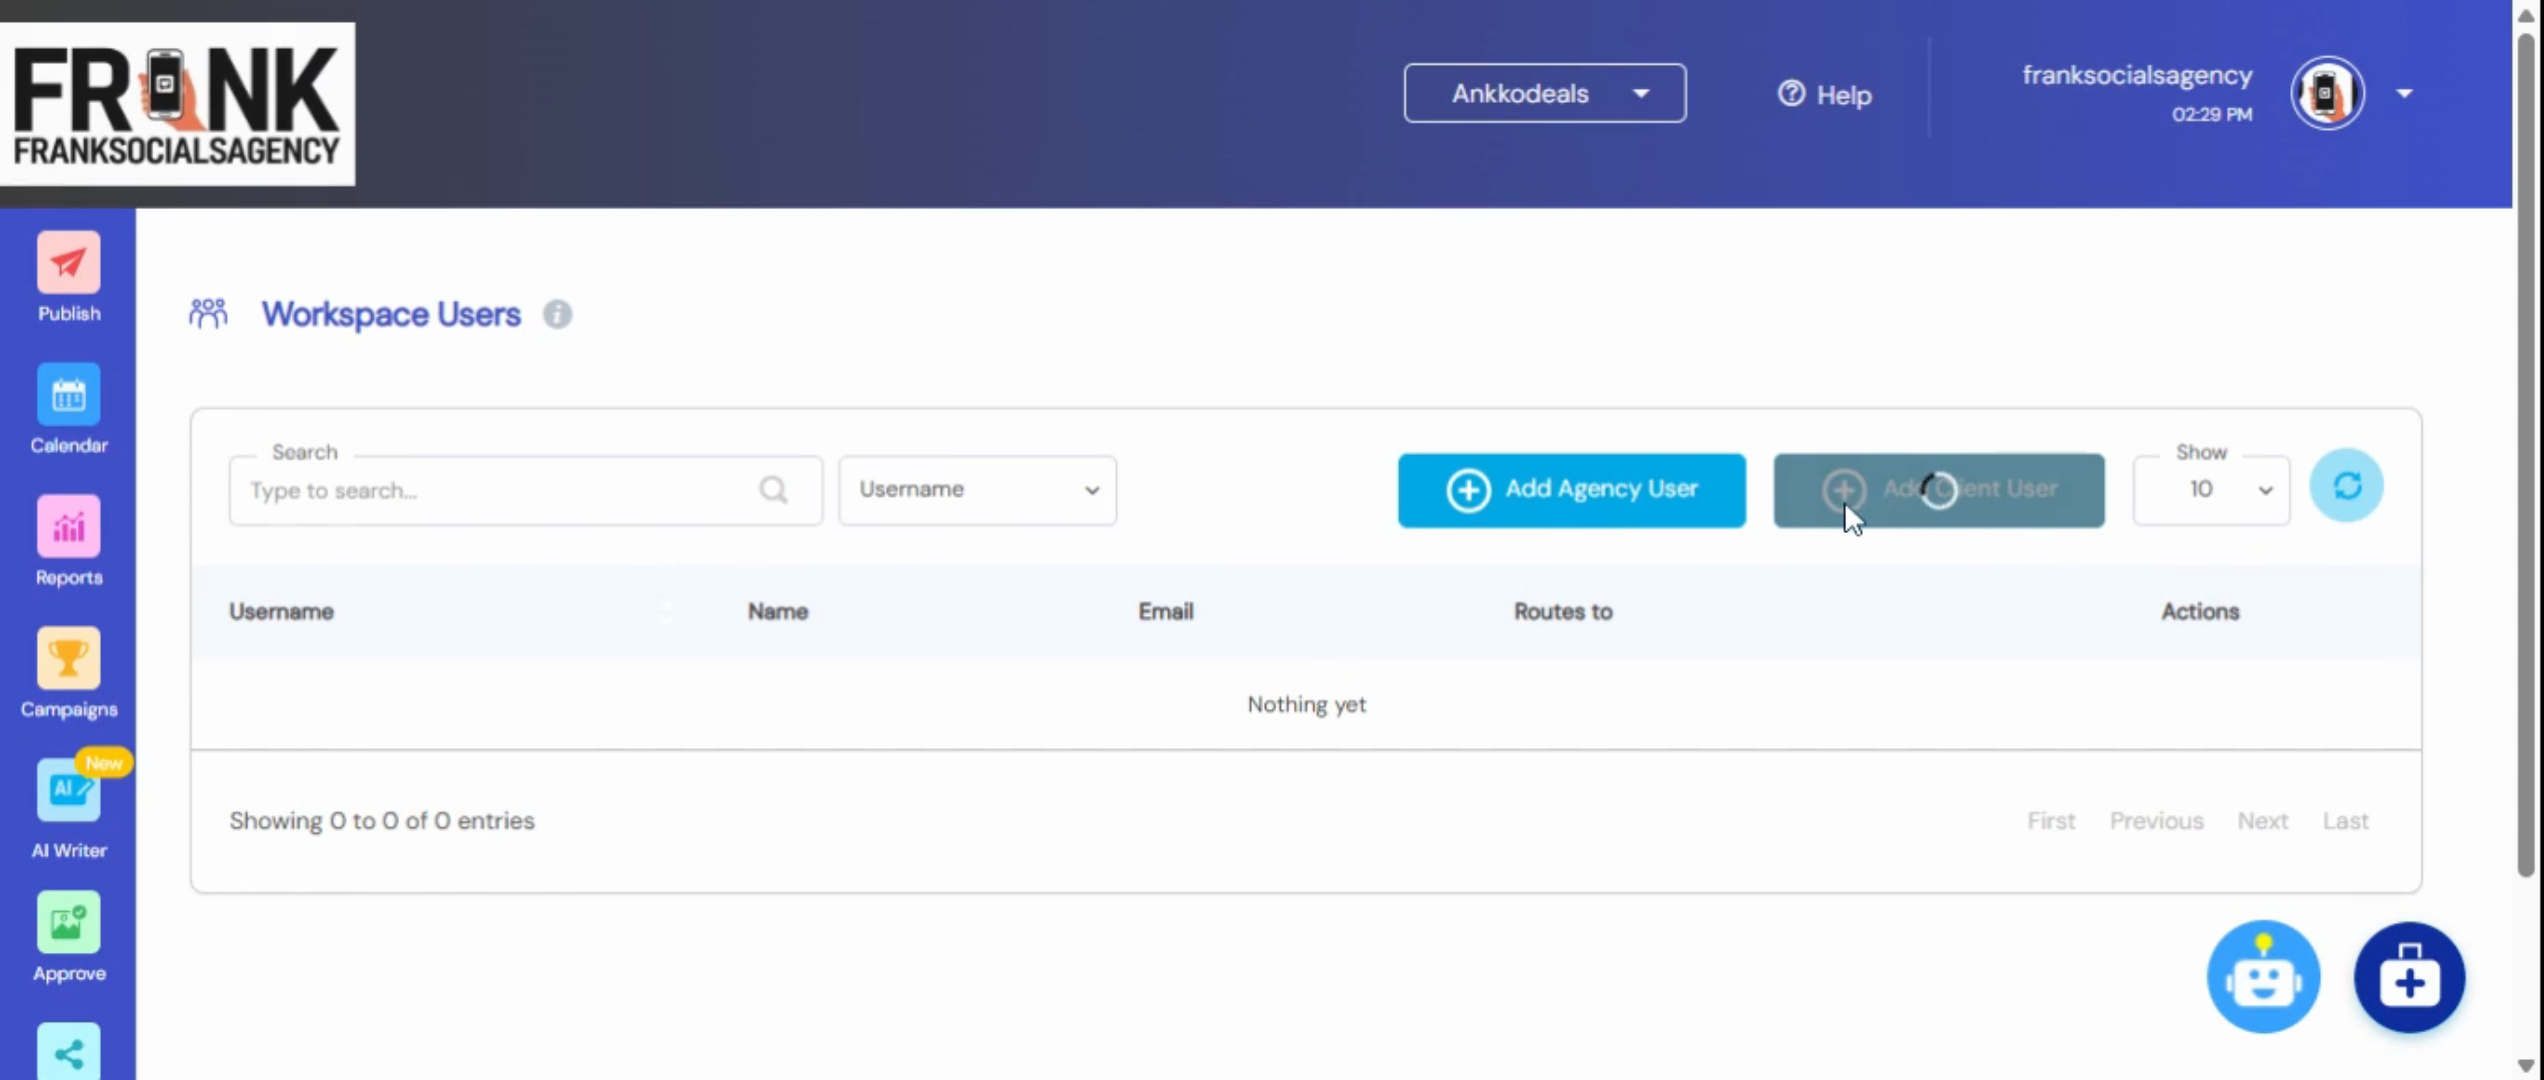
The next step is to access the workspace settings. Navigate to workspace users.
To add a new user, select Add User. It is recommended to restrict access as needed. Enter the necessary details and send an invitation to the user.
By following these steps, you will successfully create a new workspace account and add users to it.